
Stove Works: Expansive Virtual Spaces Workshop; March 25, 2021, at 5:30 pm via Zoom
Part One: Introductions
Meredith will introduce herself as a Teachable Moment Stove Works artist and briefly discusses her project Monument Public Address System.
Everyone Introductions – everyone is invited to state their name, preferred pronouns and mention what, if any, experiences they have had with virtual reality programs.
Part Two – Tutorial
SECTION ONE
We will be using Mozilla Spoke and Mozilla Hubs to create individual creative virtual rooms.
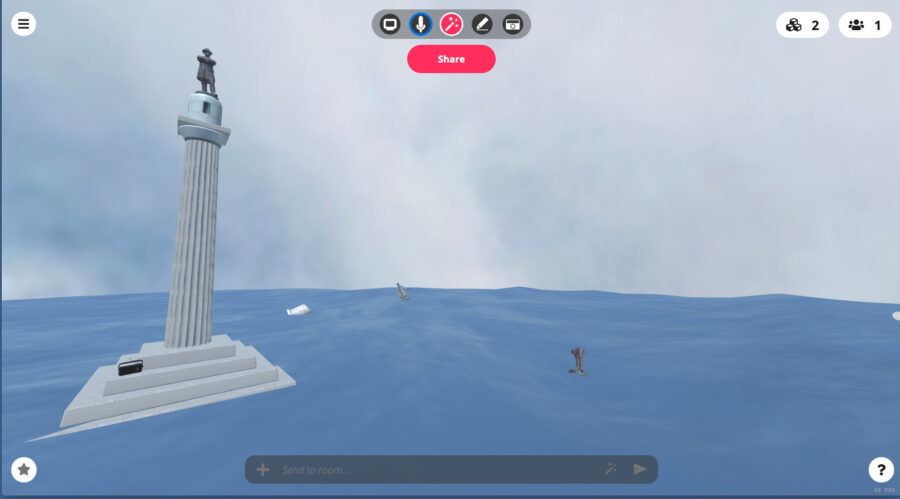
Let’s visit a Hubs Room together. This is a room that I made for this class. Please open this link: https://hubs.mozilla.com/QmGsXLT/stove-works-room-workshop
- Click Join Room
- In Avatar Set up, type in your display name and select an Avatar
- Check Microphone
- Enter room
Once you are in the room look for me and the other people in the workshop
- Please be aware that sound in this VR space is spatial
- You can talk to other people in the class but be aware that you might have to move toward them to hear them.
To Move:
- W = forward
- A = Left
- D = Right
- S = Backwards
- E = Rotate
- Q = Rotate the other way
- You can also rotate with you mouse or track pad
You can add things to the room by click “Place” at the bottom of your screen.
- This will open a dialogue box with several options including 3D model and Pen.
- Click on “3D Model”
- A Google Poly library will open.
- Click on any item
- You will be returned to the scene and your item will appear
- You can move your item by clicking on it
You can also draw on things in your scene:
- At the bottom of the window click Place
- This time select Pen
- Try drawing on things in the space
SECTION TWO
Ok, now let’s learn how to make your own world and add a larger range of things to it! We will now open a different webpage, Mozilla Spoke, where we can build our unique space.
Link – to sign up to Mozilla Spoke: https://hubs.mozilla.com/spoke
- Click Begin a new project
- Click New Project
- Look down the list of spaces for “Wide Open Space” and click that
Spoke Project Elements – Let’s take a look around the scene.
- Viewport: The big window in the middle left shows you the rendering view of the VR space.
- Hierarchy: The box on the right shows you everything that is in the scene. If you click on an item, you can see its properties below that in the Properties window.
- Assets: At the bottom is the Assets browser where we can find and place assets.
Navigating around the scene – In the viewport, you can move around your scene by putting your mouse in the viewport and
- Zoom In and Out: place two fingers on the trackpad and move forward and back scroll the middle mouse wheel
- Rotate: place one finger on the trackpad and move left and right and up and down or click and hold the left mouse button.
Adding Assets – In the asset window, let’s look at the Elements area. From within elements, you can add things like lights and basic models, and animations. There are several layers of things that you can add. Scroll down to the bottom row.
- Let’s try adding Simple Water
- If you Right mouse click on Simple water you can choose Place Object
- Once you have it in the scene, let’s make sure it is selected
- And then look at it in the Properties window
- You can change the Position, Rotation, and Scale
- You can also change the color, opacity, and tide height, and other things!
Now let’s Save Your Scene! You can do this by pressing “Command + S” on a Mac or “Control + S” on a PC or you can go to the upper left area of your Spoke web window and look for the three horizontal lines and click on that, then click on File, then click on Save Project.
Add other stuff to your scene. You can try:
- Rocks – In the Assets area, click on the Rock Kit and pick and place some rocks – you can re-size them in properties
- Sketch Fab – you can add all sorts of pre-made models
- Google Poly – lots of fun 3D models – this is the same one we visited in the Hubs room
- Hubs Sound Pack – select some sounds
SECTION THREE
Now let’s publish your scenes. We can come back later to work on them more, but I want to make sure you do this with me at least once.
- In the upper right of your Spoke web window, click on “Publish to Hubs”
- Give your scene a name.
- Click Save and Publish
- A dialogue box should open that tells you all the elements that are in your scene
- Finally, another dialogue box will ask you if you want to view your scene: click this
This will take you to Mozilla Hubs, click on “Create a Room with this scene” then click “Join Room” and click “enter room”
Invite family and friends into your room: click on the Invite button on the lower left. Copy the Room Link and put this somewhere on your computer so you can re-visit this in the future and invite others! You can also aways re-open the scene in Spoke, add more stuff, and re-publish
SECTION FOUR
Using Blender, an open-source free 3D modeling software, I am going to quickly show how to optimize the textures from models that you made or other models that you download from various websites.
You can download Blender here: https://www.blender.org/
You can also check out this Mozilla youtube tutorial that covers some of the same material that I will talk about now: https://www.youtube.com/watch?v=6uhAp1m1SXQ&t=280s
In the tutorial, I downloaded this 3D model of a lion sculpture from SketchFab. The real-world lion is in the British museum: https://sketchfab.com/3d-models/nereid-monument-lion-bb41d9410d134d82b11f6366990adc48
SECTION FIVE
Examples of interesting projects made with Mozilla Spoke/Hubs: https://hubs.mozilla.com/TqygwLx/feelings/